Film Simulations in RAW File Converter EX Version 2
Film Simulations in RAW File Converter EX Version 2
Talk to Rico (open forum for questions & feedback)
Rico’s Books at Rocky Nook – Fuji X Secrets Workshops – Rico’s Flickr Sets
Fuji Film Simulation Sample Images
—
My new book featuring 111 tipps for X-T1 users is now available as an eBook. Please use this link to get a PDF version and an ePub (Apple iBooks) file and the Kindle version for just $11.99, all DRM-free. If you are still undecided, click here to download 47 free sample pages. If you like the book and can afford the time, please leave a review at Amazon.
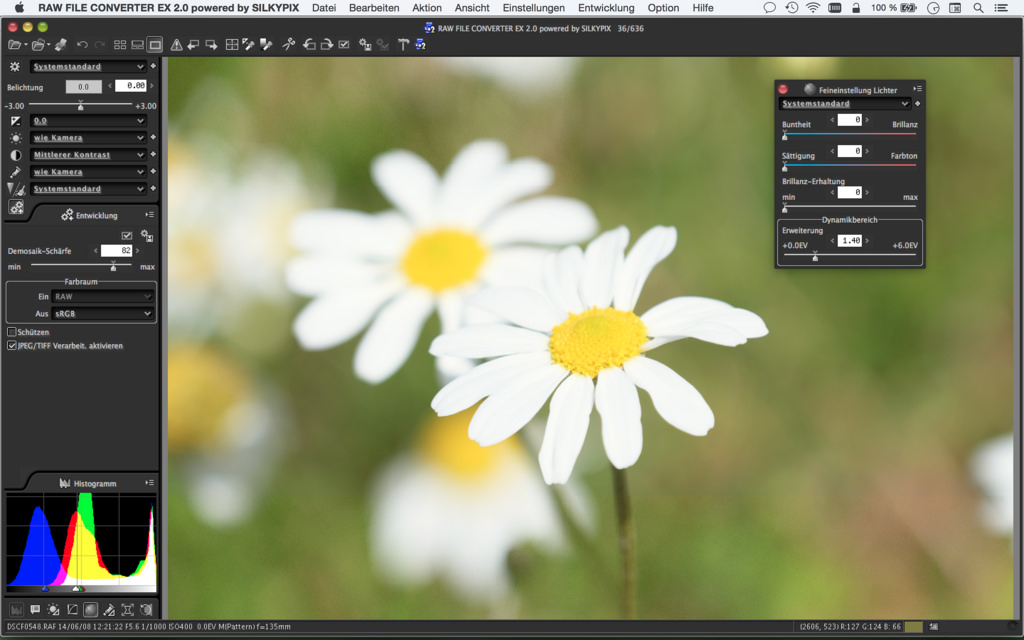
On Thursday (26FEB), Fuji will release a new version of its free Silkypix-based RAW File Converter EX converter for Windows and Mac OS. It isn’t much different from the previous version, with one notable exception: RFC EX 2 supports Fujifilm’s original film simulations Provia, Velvia, Astia, Classic Chrome, Pro Neg. Hi, Pro Neg. Std, Monochrome, Monochrome+Yellow filter, Monochrome+Red filter, Monochrome+Green filter and Sepia. Only those simulations will be available in RFC EX 2 that are also available in the respective camera. So if your camera doesn’t support Classic Chrome, neither will RAW File Converter EX 2 when you are processing a RAW file from this camera.
Once the release version of RFC EX 2 is available, you can find your free download here. Initially, the software will offer Fuji film simulation support for X-T1, X100T, X-A2, X30 and XQ2 cameras. Film simulation support for older X models will be available later this year through a free update.
As of now, it’s unclear if the current commercial version of Silkypix 6 will also be updated to support Fuji’s film simulations. I certainly hope so, since Silkypix 6 is more advanced than RAW File Converter EX 2, which is still based on an older release of Silkypix (probably version 4).
Compared to the previous version of RFC EX, sharpening and noise reduction algorithms have been enhanced. However, there is still no Retina display support for Mac OS users.
During the past three weeks, I was able to preview a beta release of RFC EX 2. Since the feature set of version 2 remains mostly unchanged, I concentrated on the new film simulation aspect and compared several straight-out-of-camera JPEG samples with their respective film simulations in RFC EX 2. I also compared shots that were recorded with varying dynamic range settings (DR100%, DR200% and DR400%), and I looked at differences regarding highlight clipping and rendering.
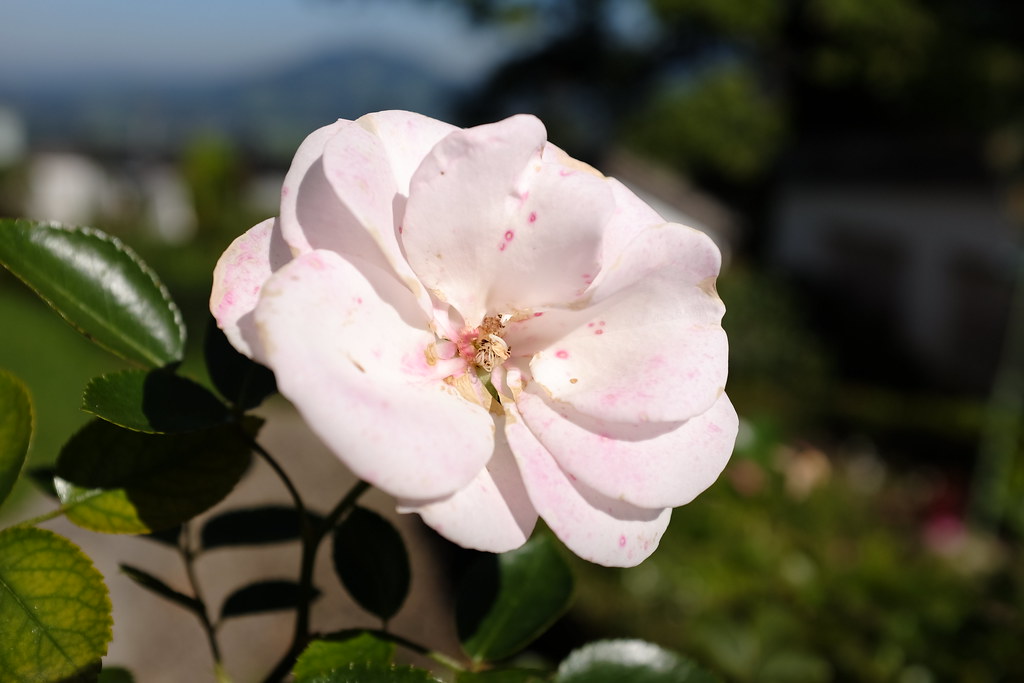
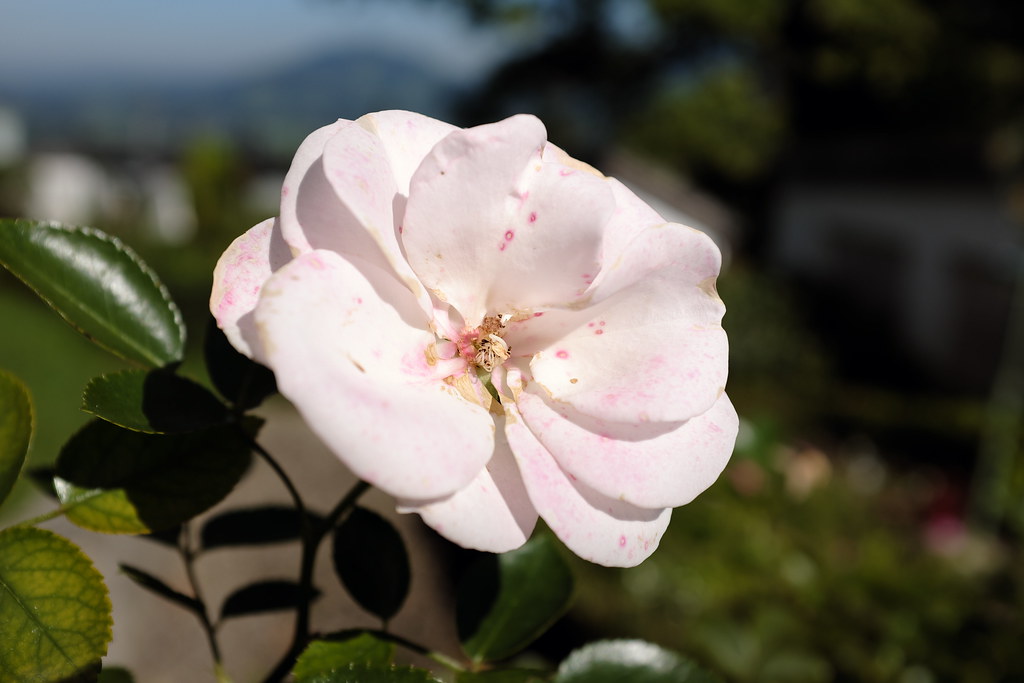
Our first example shows a Pro Neg. Hi image from my X100T:
^ Pro Neg. Hi with the X100T (DR100%): SOOC JPEG (above) and RFC EX 2 version (below)
Both images are standard conversions without further contrast adjustments. Click here or on one of the images to browse the complete sample images album for an easier and more direct comparison.
At first glance, RFC EX 2 is doing a great job at reproducing the tonality of the SOOC JPEG image. This makes RFC EX 2 a valuable tool for those who are looking for a free PC/Mac converter with 16-bit TIFF output and Fuji film simulation support.
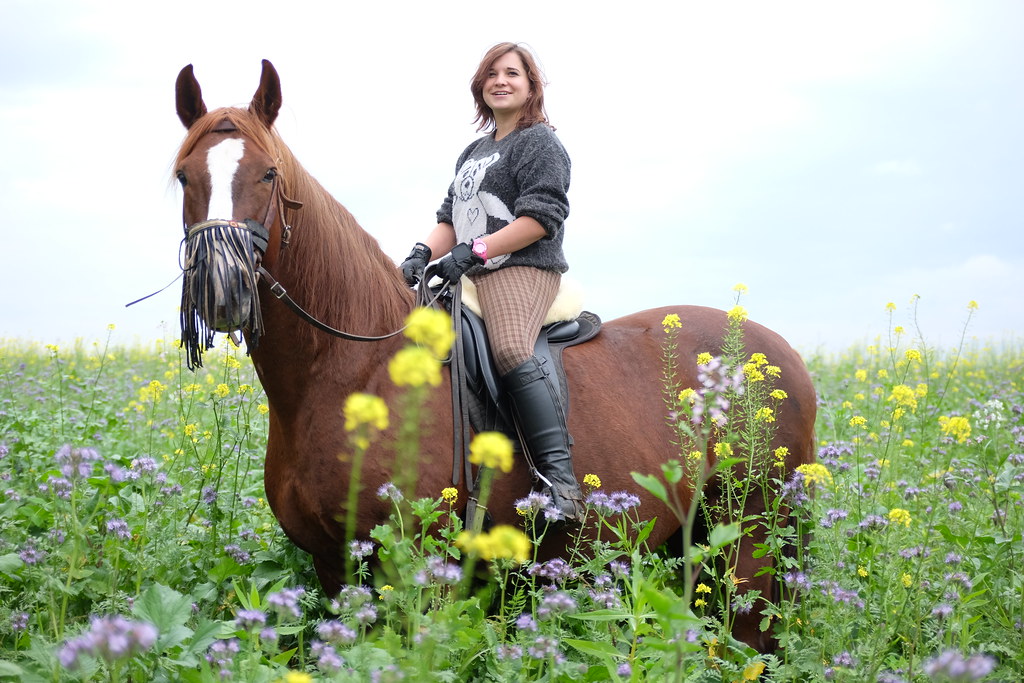
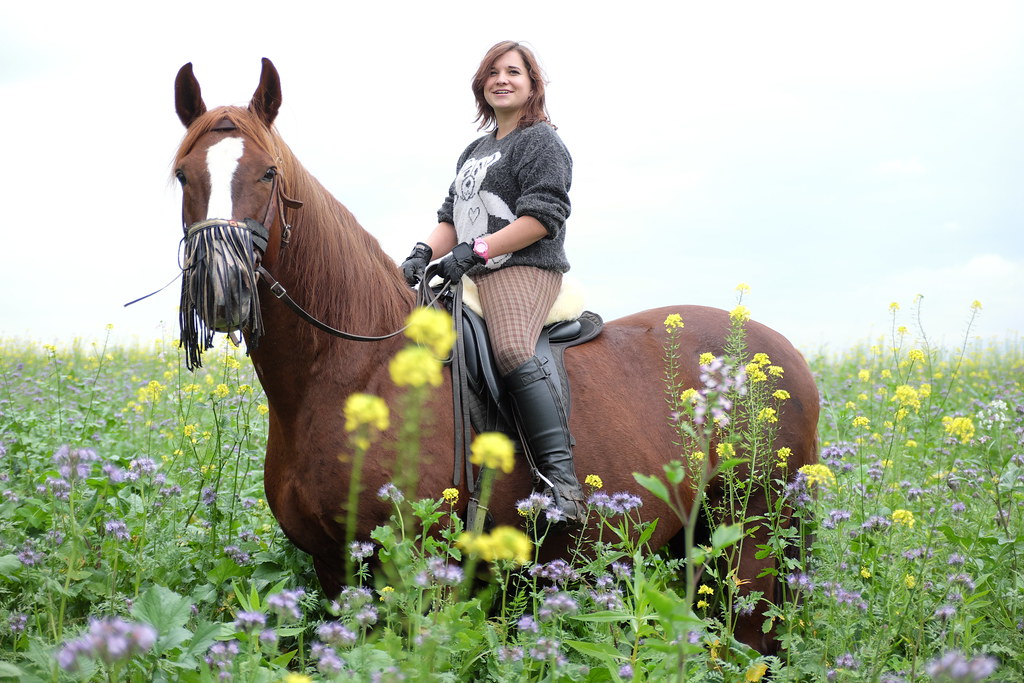
Let’s look at another DR100% example, a Velvia image from my X-T1 with some light highlight clippling:
^ Velvia with the X-T1 (DR100%): SOOC JPEG (above) and RFC EX 2 version (below)
Again, the conversions from the in-camera converter and RFC EX 2 are not identical, but definitely close enough. Even the color clipping in the highlights looks quite similar.
Here’s another DR100% example, this time using Classic Chrome:
^ Classic Chrome with the X-T1 (DR100%): SOOC JPEG (above) and RFC EX 2 version (below)
There are slight differences in saturation and tonality, and in this case, I actually prefer the RFC EX 2 version. If you click on any of the images, the Flickr album will show you additional DR100% examples that demonstrate small differences between straight-out-of-camera (SOOC) and RFC EX 2 results.
It’s important to know that in order to directly compare the built-in RAW converter with RFC EX 2, you must use the camera’s default contrast settings for HIGHLIGHT TONE and SHADOW TONE. You also have to make sure that all converters use the same color space (either sRGB or Adobe RGB). My examples were converted in sRGB, which is the preferred color space for general use and online viewing.
Highlight Recovery at DR100%
One particular issue affecting Silkypix/RFC EX is recovering blown highlights. So let’s have a closer look at a Provia DR100% sample with blown highlights in the SOOC JPEG. How is RFC EX 2 handling this file?
^ Provia with the X100T (DR100%): SOOC JPEG (above) and RFC EX 2 version (below)
It is obvious that the popular assumption that RAW data offers more dynamic range than the camera’s JPEG engine doesn’t apply here. In fact, the sky in the RFC EX 2 version features less color texture (and more channel clipping) than the SOOC JPEG from the X100T.
What about active highlight recovery? After all, RFC EX and Silkypix feature a floating highlight recovery palette that, as least in theory, should be able to reconstruct blown highlights from the data in the RAW file. However, Silkypix/RFC are really bad at doing this. Here’s the RFC EX 2 result with manually increased highlight recovery:
^ Provia with the X100T (DR100%): RFC EX 2 version with enhanced highlight recovery
For comparison, this is how the highlights in this images could be recovered in Adobe Lightroom, also using the Provia film simulation setting:
^ Provia with the X100T (DR100%): Adobe Lightroom version with enhanced highlight recovery
Simple rule: If you shoot RAW to capture more dynamic range than the in-camera JPEG, do not use Silkypix or RAW File Converter EX. Use a different converter, such as Adobe Lightroom/ACR, Iridient Developer or Photo Ninja.
Highlight Recovery at DR200% and DR400%
Silkypix and RAW File Converter EX are currently the only RAW converters that can automatically emulate Fujifilm’s built-in DR function (which is used to increase the highlight dynamic range in an image):
- DR200% underexposes the RAW file by one stop to capture more highlights and then pushes the shadows and midtones up one stop during RAW conversion, while leaving the highlights intact.
- DR400% underexposes the RAW file by two stops to capture even more highlights and then pushes the shadows and midtones up two stops during RAW conversion, while leaving the highlights intact.
The in-camera RAW conversion (aka the JPEG engine) automatically takes care of the tone-mapping of DR200% and DR400% images, and Silkypix/RFC is emulating this feature by automatically pushing the RAW data one (DR200%) or two (DR400%) stops and then applying one or two stops of additional highlight recovery. In theory, this should lead to results that closely resemble in-camera JPEGs that were taken with DR200% or DR400%.
How closely the RFC EX 2 conversion actually matches an in-camera JPEG very much depends on the particular image. In other words: your mileage may vary.
Here’s a popular DR400% example from my books:
^ Provia with the X-T1 (DR400%): SOOC JPEG (above) and RFC EX 2 version (below)
Here, the RFC EX 2 version and the image from the built-in RAW converter look quite similar, including the recovered (pulled-back) highlights. Yes, there are differences, but it could be much worse. For example, matching the SOOC JPEG would be much more difficult in Adobe Lightroom.
Here’s another DR400% sample, this time using Classic Chrome:
^ Classic Chrome with the X-T1 (DR400%): SOOC JPEG (above) and RFC EX 2 version (below)
Again, both versions look quite similar, although parts of the shot look a bit darker in the RFC version. To reveal more shadow detail in RFC EX 2, you could adjust the exposure, brightness and contrast sliders.
Let’s have a look at a DR200% Provia example:
^ Provia with the X-T1 (DR200%): SOOC JPEG (above) and RFC EX 2 version (below)
Using the DR function to achieve a high-key look is one of its several applications. In the above example, we can see that the RFC EX version is once again slightly darker than the SOOC JPEG, but the most striking difference is the color rendering of the yellow/orange highlights in the flowers. With its default setting, the highlight recovery function of RFC EX 2 renders these colors in a more orange looking way than the camera’s built-in JPEG engine. However, RFC EX lets us adjust several parameters in the Highlights control palette. In this particular case, I moved the Saturation/Hue slider from its default Zero position to around 40. This puts more emphasis on the correct color hue and less on maximum color saturation:
^ Provia with the X-T1 (DR200%): RFC EX 2 version (with adjusted highlight recovery parameters)
This enhanced version from RFC EX 2 better matches the SOOC JPEG. However, there are cases where the differences between the tone-mapping of the camera’s JPEG engine and RFC EX 2 are more pronounced. Let’s have a look at this DR400% sample:
^ Provia with the X-T1 (DR400%): SOOC JPEG (above) and RFC EX 2 version (below)
Once again, the RFC EX 2 version of this shot is darker in the shadows, and there’s also a difference in the rendering of highlights. However, we can once again adjust a few parameters in the converter’s Highlights palette. In the version below, I moved Chroma/Luminance from 0 to 35, and Saturation/Hue from 0 to 45:
^ Provia with the X-T1 (DR400%): RFC EX 2 version (with adjusted highlight recovery parameters)
It’s still no perfect match, but maybe a little bit closer to the rendering of the SOOC JPEG. I also looked at how RFC EX 2 handles film simulations with RAWs from the X30. Along with the X20, XQ1 and XQ2, the X30 uses a different sensor with a quite different color response. That’s why cameras featuring Fuji’s 2/3-inch sensor can’t use color profiles that were made for Fuji’s current APS-C cameras. Let’s have a look:
^ Astia with the X30 (DR100%): SOOC JPEG (above) and RFC EX 2 version (below)
Once again, there are some differences, but I assume the RFC EX default result will be sufficient for most users.
Since these samples were made with a beta version of RFC EX 2, it is possible (yet unlikely) that the release version delivers slightly different results. For those of you who are looking for a free PC-based RAW converter software that can automatically emulate the look of the camera’s film simulation, RFC EX 2 is definitely worth a try.
For your convenience, here’s a TOC with links to my previous X-PERT CORNER articles:
- X-T1: Tethering with Adobe Lightroom and Fujifilm HS-V5
- First Look: Fujinon XF16-55mmF2.8 R LM WR
- XF 56mm APD vs. XF 56mm
- New Firmware Features (3): X-T1 Firmware Version 3.00
- New Firmware Features (2): Using Camera Remote
- New Firmware Features (1): Using AF+MF
- First Look: Fujinon XF 50-140mm F2.8 R LM OIS WR
- Using the Fujifilm X100T
- First Look: Fujifilm X30
- First Look: XF18-135mmF3.5-5.6 R LM OIS WR
- X-E2: Behind Firmware 2.00
- First Look: Fujifilm TCL-X100 Teleconverter for X100(S) Cameras
- First Look: Fujinon XF10-24mmF4 R OIS
- First Look: Fujifilm X-T1
- First Look: Fujinon XF56mmF1.2 R
- Exposing Right
- Using Auto-ISO
- Using Face Detection
- First Look: Fujifilm XQ1
- PDAF & LMO Lens Firmware Updates Coming in November
- First Look: Fujifilm X-E2
- How Fuji could save the X-M1
- X-A1 vs. X-M1: Photo Ninja Edition
- X-A1 vs. X-M1: the Shootout
- Using the Fujifilm X-A1 [& X-M1]
- First Look: Fujinon XF23mmF1.4 R
- RAW Converter Shootout Results
- Ultimate RAW Converter Shootout
- First Look: X-M1 with New Kit Zoom and Pancake Lens
- Zeiss Touit vs. Fujinon XF
- Remote Shutter Control for X Series Cameras
- Apple Camera RAW, X-Trans and EXR
- First Look: XF55-200mmF3.5-4.8 R LM OIS
- Studio X
- Using the X100S
- Using the X20
- X100S vs. X100
- X20 vs. X10
- RAW, JPEG, Silkypix and “Fuji Colors”
- Adapting Third-Party Lenses (updated with Speed Booster)
- RAW for JPEG Shooters…
- Tips for Updating your Firmware
- How to Clean the X-Trans Sensor
- Using the XF14mmF2.8 R
- Decoding XF18-55mmF2.8-4 R LM OIS
- Comparing RAW converters: JPEG vs. Lightroom, Capture One, Silkypix & RPP
- XF14mmF2.8 R appears to be almost distortion free
- How to Expand Dynamic Range
- How to Use Extended ISO
- EXR, anyone?
- Capture One – When the Going Gets Tough…
- Using Shooting Profiles and the Quick Menu
Rico Pfirstinger studied communications and has been working as journalist, publicist, and photographer since the mid-80s. He has written a number of books on topics as diverse as Adobe PageMaker and sled dogs, and produced a beautiful book of photographs titled Huskies in Action (German version). He has spent time working as the head of a department with the German Burda-Publishing Company and served as chief editor for a winter sports website. After eight years as a freelance film critic and entertainment writer in Los Angeles, Rico now lives in Germany and devotes his time to digital photography and compact camera systems. His new ebook The Fujifilm X-E2: Beyond the Manual is available at Rocky Nook.


