Tips for Updating your Firmware
by Rico Pfirstinger
While this column is officially due on Fridays, Fuji has a habit of issuing firmware updates (and press releases etc.) on a Thursday. And so they did today, releasing firmware updates for the X-Pro1, the X-E1 and the XF35mmF1.4 R – with a delay of two weeks due to a last minute bug fix regarding the XF18-55mmF2.8-4 R LM OIS “kit zoom” lens. So I thought this may be a good opportunity to write up some tips regarding firmware updates and release it here ahead of time as well. Here we go!
What’s my current firmware status?
You can determine the status of the firmware in your X-series camera (and whichever lens you have attached at the time if it’s an X-Mount camera) by holding down the DISP/BACK button while turning the camera on.
Where do I find new firmware versions?
By following websites like Fujirumors, you can find out if there is a newer firmware version than what is currently installed on your camera. You can then download the new firmware updates directly from FUJIFILM using this link.
But… I can’t see it there?!
If you don’t see the new firmware listed on the global FUJIFILM firmware update site, there’s a good chance your browser or Internet provider has still cached an older version of that webpage. In this case, just delete your browser cache or force your browser to reload and refresh the page by, for example, holding the Alt or Option key while clicking on Reload.
My camera doesn’t recognize the firmware files!
When you download a new camera or lens firmware update to your computer, make sure you do NOT have previous firmware update downloads either for the X-Pro1, X-E1, other Fujifilm cameras or any XF lenses sitting in your PC’s download destination folder. File naming conflicts may cause your computer to save the new file under a different name (like FPUPDATE-01.DAT instead of FPUPDATE.DAT), which your camera won’t recognize and won’t be able to install.
Currently, firmware files for cameras are named FPUPDATE.DAT for the X-Pro1 and FWUP0001.DAT for the X-E1. Updates for lenses are named XFUP00xx.DAT, with xx being a number signifying a specific XF lens. For example, updates for the XF35mmF1.4 R always bear the filename XFUP0002.DAT. Do NOT ever change these filenames!
Follow these steps when updating your firmware:
- Locate the latest firmware for your camera or your specific lens on the FUJIFILM website and download it to your personal computer. Unzip the file if necessary and then double-check that your computer hasn’t given the downloaded file a name different from the filenames mentioned above.
- Make sure that you have a fully charged battery in your camera.
- Connect an SD memory card to your computer. The card must have been formatted in your camera (SETUP MENU > FORMAT). If your computer has an integrated card reader, use it; otherwise you will need an external card reader.
- Copy the FPUPDATE.DAT (X-Pro1) or FWUP0001.DAT (X-E1) or XFUP00xx.DAT file (when you’re updating a specific lens) to the top directory level of the SD card.
- Disconnect the SD card from your computer (using your operating system to properly unmount it first). Make sure your camera is turned off, and insert the card into the appropriate port on your camera.
- If you are updating a specific lens, make sure this lens is now affixed to the camera. However, if you are updating the camera body, make sure NO lens is attached to the camera while doing so.
- Turn your camera on while holding down the DISP/BACK button.
- Follow the directions on the LCD monitor and do not interrupt the update process. Do not turn the camera off before you receive confirmation that the process has completed!
The updating process can take several minutes, so it is important that your battery is fully charged. You wouldn’t want your camera to shut down during the update because if it did, you might need to have a professional service your camera.
Lenses and camera bodies must often be updated together. If you attach an updated lens to a camera body that has not yet been updated, the camera will detect this after you turn it on by indicating that a firmware update for the camera body is needed. Conversely, the camera will also indicate that a lens firmware update is needed if you attach a lens that hasn’t been updated to a camera body with a newer firmware version.
Anything else?
Today, the CP+ show did kick-off in Japan. Watch out for news regarding Fuji’s XF lens lineup! Oh, and if you use a X-Pro1 or X-E1 and haven’t already done so: consider getting a copy of my book “Mastering the FUJIFILM X-Pro1” (Kindle Edition) (Apple iBook Store) (German version).
For your convenience, here’s a TOC with links to my previous X-PERT CORNER articles:
- How to Clean the X-Trans Sensor
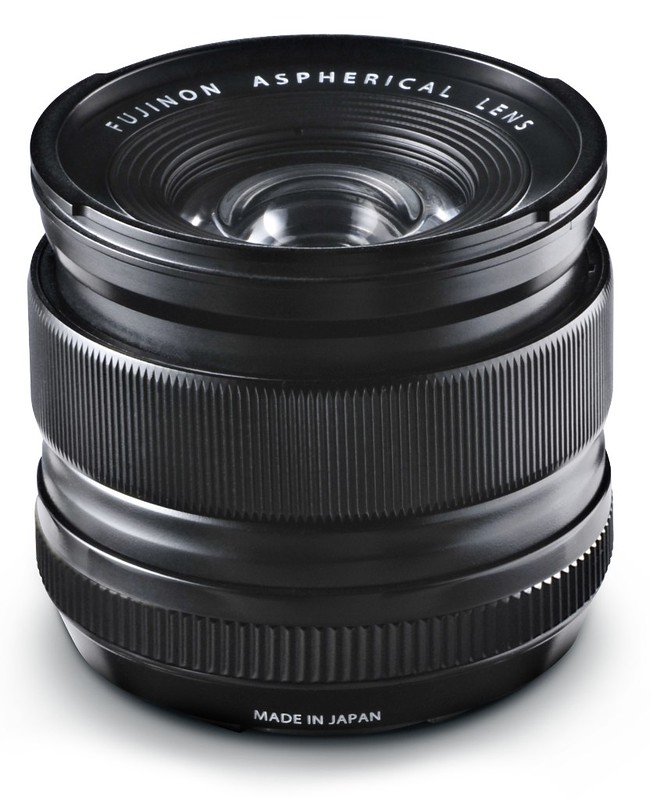
- Using the XF14mmF2.8 R
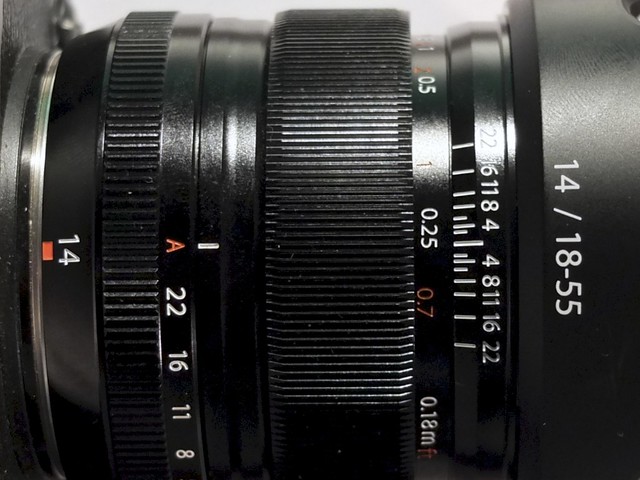
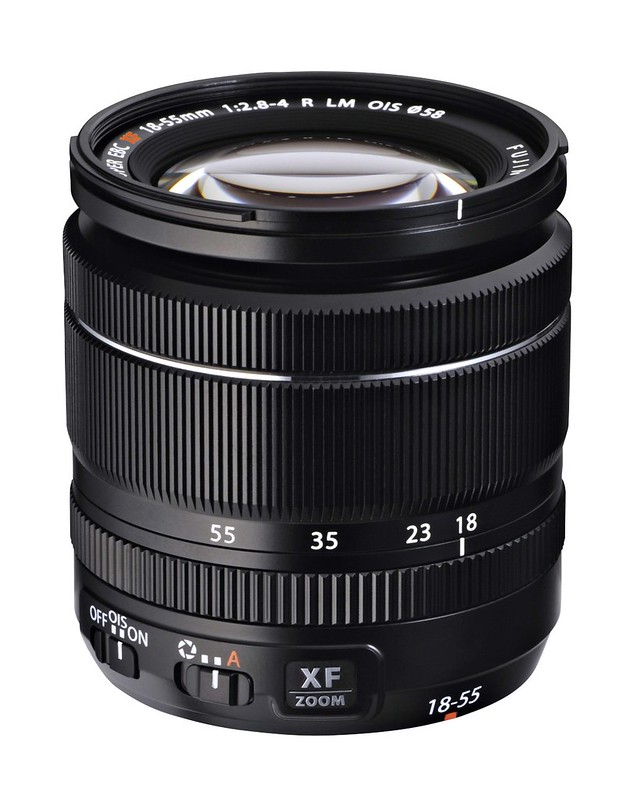
- Decoding XF18-55mmF2.8-4 R LM OIS
- Comparing RAW converters: JPEG vs. Lightroom, Capture One, Silkypix & RPP
- XF14mmF2.8 R appears to be almost distortion free
- How to Expand Dynamic Range
- How to Use Extended ISO
- EXR, anyone?
- Capture One – When the Going Gets Tough…
- Using Shooting Profiles and the Quick Menu
Rico Pfirstinger studied communications and has been working as journalist, publicist, and photographer since the mid-80s. He has written a number of books on topics as diverse as Adobe PageMaker and sled dogs, and produced a beautiful book of photographs titled Huskies in Action (German version). He has spent time working as the head of a department with the German Burda-Publishing Company and served as chief editor for a winter sports website. After eight years as a freelance film critic and entertainment writer in Los Angeles, Rico now lives in Germany and devotes his time to digital photography and compact camera systems. His book “Mastering the FUJIFILM X-Pro1” (Kindle Edition) (Apple iBook Store) (German version) is available on Amazon and offers a plethora of tips, secrets and background information on successfully using Fuji’s X-Pro1 and X-E1 system cameras, lenses and key accessories.