Update- Fujinon XF 14mm f/2.8 R Sample Images Published

Share

Fujifilm posted on Facebook that the XF14mm f/2.8 lens will start shipping this weekend (source photorumors)

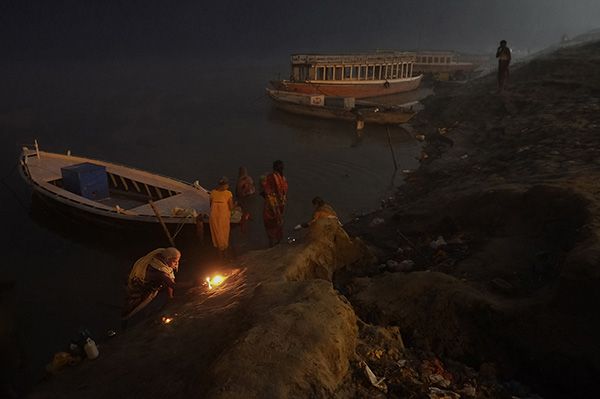
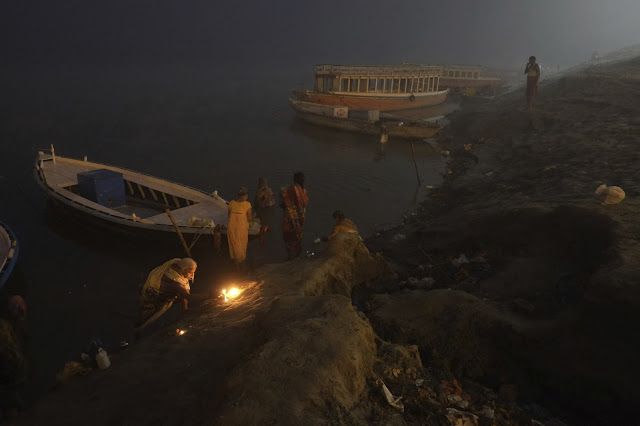
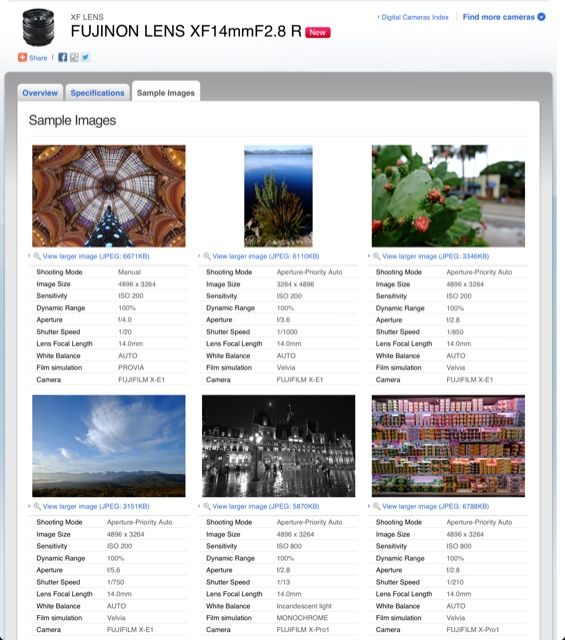
Finally some sample pics shot with a Fujinon XF 14mm f/2.8 R have been posted on fujifilm.com (click here). For the specs click here.

The Fujinon XF 14mm f/2.8 R can be pre-ordered at B&H and Adorama.

Fujirumors readers already had the opportunity to see some test shots and read a review here at the X-Pert Corner.

883533


Share

National Geographic disqualifies contest winner because he removed a bag from the picture!

Share

Want to report a story that happened to a photographer who won a National Geographic photo contest with his [shoplink 6136]Fuji X-Pro1 (price & specs)[/shoplink]. Harry Fish sent the following message to Fujirumors:

I won the National Geographic 2012 Photo contest with a FUJI X-PRO1 and was later disqualified. Should you find this news interesting for your Comunity and/ or readers, here you have a link to my blog article http://harryfisch.blogspot.com.es/2013/01/national-geographic-how-i-won-and-lost.html
And here another http://harryfisch.blogspot.com.es/2012/12/how-to-win-and-loose-2012-national.html
In case you would like any other kind of media (Word and or images),  please let me know.
Thank you in advance for your time. Regards, Harry”

Of course, you’re welcome. And here we are with the big dilemma. Is removing a single object from a picture such a strong alteration of the artistic value of the pic? See the pictures below, first the winning picture, next the picture with the removed object (the bag on the far right).

He then wrote to the magazine:

I lunged to the computer and sent a mail to [the] editor of the magazine, arguing that a crop, perfectly allowed by the rules, would have done away with the object without further alterations, the bag would have melted with a slight burning-darkening, that  it was unnecessary to remove anything digitally (the rule that bans deleting or adding  tries to  safeguard the spirit or nature of  the photograph. Here the nature nor spirit of the original photo was not altered) and, most of all, that the minimal, slight modification did not alter the picture.

The magazine editor answered:

“.. it is unfortunate you did not crop the bag or just leave it  in, as it really had no impact either way….”.

“no impact”… Well, no comments here. It is the old question about how much you can alter a picture, and when a picture stops to be an original picture. Check Harry’s post to learn all the details about this misadventure. Great pic Harry, in any case!

Share

Great X20 and X100s hands-on by David Cleland.

Share

David Cleland had the pleasure to play with Fuji’s new toys and posted a X100s hands-on (Click here) and a X20 hands-on (Click here). He writes: “Genuinely I think both the X20 and X100s are cameras to get excited about. I suspect they are names that will appear on the “Camera of Year” lists of 2013.

He owns a [shoplink 6126]X100 (price & specs)[/shoplink] and had the opportunity to test the [shoplink 6127]X100S[/shoplink]. About the X100 he says: The X100 taught me that you can be creative in the camera without having to rely on post production processing. In short the X100 became my every day camera. But now there is the amazing X-Trans sensor.

Physically the camera is almost identical to the X100, there is the addition of the ‘S’ to the logo and the all important Q button but also the focus options are now M-C-S rather than M-S-C as they were on the X100. The big changes come on the inside, a 16.3 megapixel APS-C X-Trans CMOS II a a Lens Modulation Optimiser and the new EXR processor are just a few of the highlights.

So, does the X-Trans sensor make a difference?

In short, in complete certainty and after just a few hours I was able to conclude the answer is a definitely YES. The image output is breathtaking

Check out his review at FlixelPix and the many amazing pics he shot with the “super sharp” Fujiflm X100S, or have a look at his pics on Flickr. Keep in mind that all X100 accessories are compatible with the X100S.

Fujifilm X100 price check: [shopcountry 6126]

Fujifilm X100S pre-order options: [shopcountry 6127]

Share

Comparison: APS-C with Speed Booster VS Full Frame

Share

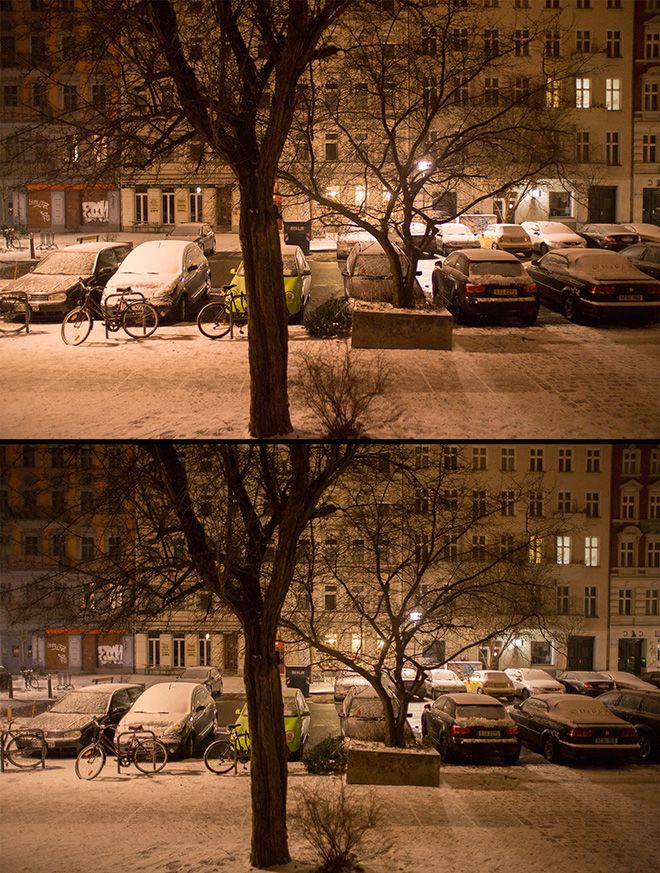
sb test

image courtesy: eoshd

Both of these shots were taken with the same lens at 24mm. One is not a full frame camera! ” (NEX-7 top / Canon 5D Mark III bottom. Lens: Sigma 24mm F1.8)

So, eoshd started his Speed Booster testings. Almost identical field of view! “The Speed Boost effect on aperture is highly evident too. On the NEX 7 the camera reports the maximum aperture as F1.3 and it is certainly brighter.” Also the “depth of field is as shallow on the NEX 7 as the 5D Mark III despite the difference in sensor size.

Do we really need a Fuji Full Frame now? At the end of his post eoshd says: “This is a groundbreaking product for photographers and cinematographers alike.” Just click here (eoshd website) to read much more and see more comparison pics!

In another post he explained how the Speed Booster works: “If your sensor is smaller than full frame, shrink the image that the lens throws to fit over it. That is the principal behind the Metabones Speed Booster which essentially gives you the full frame look and a brighter image all at once…” He says, among the others, that with this adapter:

  • A 24mm wide angle like the Canon 24mm F1.4L becomes a 24mm wide angle on the FS100, with the same shallow DOF and field of view as on the 5D Mark III
  • A F1.2 aperture on a Canon lens becomes F0.90, a significant 1 stop brighter image in low light
  • Depth of field becomes shallower – the same as it would be on full frame

Read the whole text here.

Metabones Press Release:

Petersburg, VA, USA, January 14, 2013 – Metabones® and Caldwell Photographic jointly announce a revolutionary accessory called Speed Booster™, which mounts between a mirrorless camera and a SLR lens. It increases maximum aperture by 1 stop (hence its name), increases MTF and has a focal length multiplier of 0.71x. For example, the Canon EF 85mm f/1.2L II lens becomes a 59mm f/0.9 lens on a Sony NEX camera, with increased sharpness. The faster F-stop allows for shallow depth-of-field and a lower ISO setting for decreased noise.

Speed Booster is also particularly pertinent to ultra-wide-angle SLR lenses. The combined focal length multiplier of Speed Booster and an APS-C mirrorless camera is approximately 1.09x, making the combination almost “full-frame”. Full-frame ultra-wide-angle SLR lenses largely retain their angle-of-view on an APS-C mirrorless camera when Speed Booster is used.

The optics of Speed Booster is designed by Brian Caldwell, PhD, a veteran of highly-corrected lens designs such as the Coastal Optics 60mm f/4 UV-VIS-IR APO Macro lens with exemplary MTF performance (focusing done with visible light requires no correction whatsoever for the full spectrum from UV to IR).

Speed Booster serves double-duty as a lens mount adapter, from Canon EF lens (but not EF-S) to Sony NEX, with auto-aperture, image stablization, EXIF and (slow) autofocus support for late-model (post-2006) Canon-brand lenses. It will be available in January 2013 from Metabones’ web site and its worldwide dealer network for US$599 plus shipping and applicable taxes and duties.

Other mount combinations will follow shortly afterwards. Leica R, ALPA, Contarex, Contax C/Y and Nikon F (with aperture control for G lenses) will be supported, as will Micro 4/3 and Fuji X-mount cameras. Support for other mounts will be added in the future.
Share

Comparing RAW converters: JPEG vs. Lightroom, Capture One, Silkypix & RPP

Share

by Rico Pfirstinger

NOTE: This article has been edited to add Raw Photo Processor (RPP) and Lightroom 4.4RC to the comparison.

Yesterday, Richard Butler of DPREVIEW fame published an article comparing several X-Trans compatible RAW converters. You can download the RAW file of this demo shot yourself by following the link above. Just scroll down to the end of the DPREVIEW article.

This is an X-Pro1 in-camera JPEG of the original demo shot that was used in the article.

DPR Tram DR200% Astia (in-camera JPEG)

You can click on the image for larger views including full-size. Strangely enough, Richard used a DR200% shot (= a RAW that is underexposed by 1 EV) and film simulation mode Astia. Since Astia offers a different color gradation and more shadow contrast than the camera’s standard (default) Provia setting, this version of the demo image is actually not very suitable for comparing external RAW converters with their respective default settings, which will typically try to mimic the camera’s default settings and look. So let’s do a better job, shall we?

This is the same file as before, now developed in-camera with the X-Pro1’s Provia film simulation mode, using the camera’s default JPEG settings:

DPR Tram DR200% Provia (in-camera JPEG)

Again, click on the image to get to larger views on Flickr. As the demo shot was taken in DR200%, the camera’s internal RAW converter automatically adjusted shadow tones and darker midtones to compensate for the RAW’s -1 EV underexposure, while leaving the highlight tones intact (click here for a more elaborate discussion of how to extend dynamic range). As you can see, Provia offers less shadow contrast than Astia, so the shot looks a bit flatter and also “less sharp”, because increased contrast will give a (false) impression of increased sharpness. So let’s forget about the Astia JPEG shown in the DPREVIEW article. Let’s instead make this Provia JPEG our reference image and compare it with the results of three external RAW converters: Lightroom 4.3, Capture One 7.0.2 (release version) and Silkypix 5.

Here’s a screenshot showing a 100% crop of this Provia JPEG. Click on it to go to Flickr for a full-size viewing option:

DPR Tram DR200% Provia detail screenshot

Now that our benchmark image is established, let’s have a look at its Lightroom 4.3 version. Lightroom/ACR recognizes the camera’s DR settings (stored as metadata in the RAW file) and automatically compensates (at least partially) for it in its default import settings. Again, click on the pic for larger views:

Share
** CLICK HERE to Read the Rest of the Article **