Many of you asked me to introduce a FR1 to FR5 rating system like on all the other rumor sites, but I honestly don’t like rumor ratings. Here is why:
As you might know, in 2014 I’ve shared 74 correct rumors (82% hit rate). Many of them came from new or anonymous sources. So, just because a rumor comes from a new/anonymous source, it doesn’t mean it is wrong or has a low credibility.
Sure, I receive also plenty of fake rumors shared by people, who apparently do not like FujiRumors for some reason, but I was able to debunk almost all of them… so all those fake rumors luckily never went online (it would be a long, fun list to publish one day)!
Also, consider that many rumors have been shared several months (and even over a year) before the real product hit the market. For example, FR-sources shared already in July 2014, that the X-PRO2 will feature a 24MP sensor (and I’m confident that this rumor is correct).
Such Super Early Leaks can often be a problem for FR, because products that were really in Fuji’s plans at the moment when the rumor was shared, were dropped by Fuji later on (see X70, dual card slot for X-T1 and more). So it happens that correct rumors turn out to be wrong at the end… sh*t happens ;) .
That being said, I understand your need of a rating within this rumor jungle. Therefore, once or twice a year, I sum up all the rumors and try to order them according to their reliability. The list includes also rumors shared in 2014 which are still not verified.
This is also the occasion for me to say a BIG THANK YOU to all sources, who shared right rumors in the past years. I think 82% is an good hit rate for a rumor site, and it would not be possible without your amazing help…. we are all looking forward to hear more from you :) .
cheers,
 facebook, google+, RSS-feed and twitter

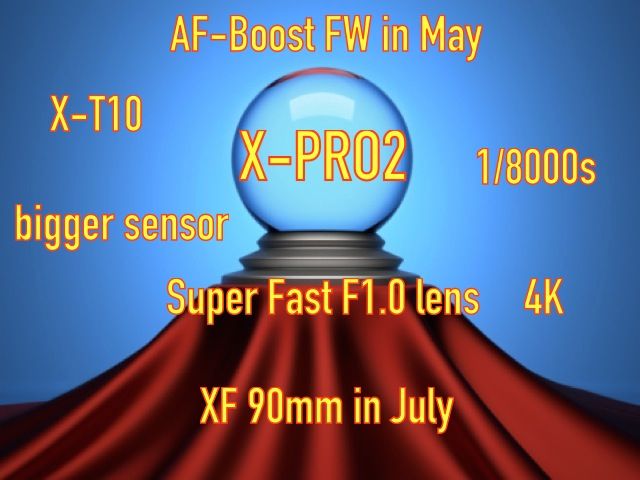
WHAT WILL HAPPEN
HIGH RATING
– Fujifilm X-PRO2 coming “late 2015“ (shared 13 January 2015)
– Fuji X-PRO2 will be 4K capable
– X-PRO2 will have new processor EXR III (shared on March 10)
– Fujifilm X-PRO2 will have 1/8000 mechanical shutter speed
– A New X-camera will be Announced in May
– X-PRO2 with APS-C sensor
– No more X-PRO1S, all R&D placed into the X-PRO2
– Fujifilm Flash will come in spring 2015, guide no. 50 and wireless control
– New Fuji flash with remote communication, HSS etc. available within late 2014 early 2015
– Fujifilm X-T10 to be announced Mid-May
– X-T10 announcement May 18
– The mysterious new entry-level? A cheaper version of the Fujfilm X-T1 coming this year (shared 12 January 2015)
– Downspec’d Fujifilm X-T1 to be called… Fujifilm X-T10
– Fujiiflm X-T10 – No weather sealing & smaller EVF
– Fujifilm X-T10 coming late spring/early summer
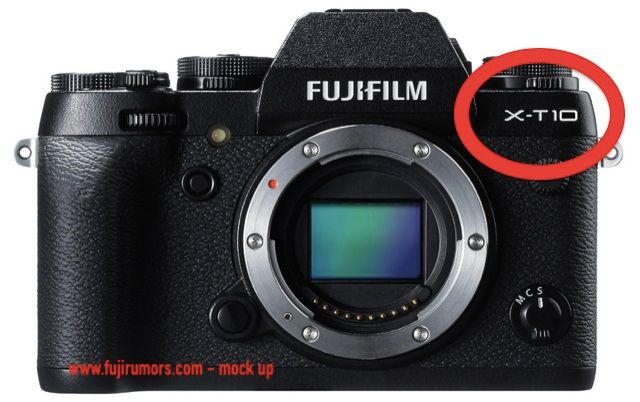
– Fujifilm X-T10: Some Design Changes over X-T1, SLR shape, Black and Silver version for the same price!
– Fujifilm X-T10 to be announced in May
– Fujifilm X-T10: Body Price between 700 and 800. Kit with 16-50 or 18-55! No dedicated PASM dial.
– ** FIRST FUJI X-T10 IMAGE LEAKED ** SEE NOW the Worldwide FIRST IMAGE of the Fujifilm X-T10!
– Two small dials under the X-T10 Drive and Shutter dial: One to enable flash, and one to switch to Full Auto Mode (with scene recognition)
MEDIUM RATING
– X-PRO2 Sync Speed faster than 1/180th
– X-PRO2 with 24MP
– New Firmware with Improved AutoFocus for X-T1 coming in May (probably 11th of May)
– Fujifilm X-T1 Better AutoFocus coming in May with Firmware Ver. 4.0
– Fuji Flash made with METZ, ABC grouping, off shoe TTL
– X-T10 no ISO dial, EVF size about the same of X-E2, build in flash, kit lens will be an XC lens
– Fujifilm X-T10 will feature a Function Dial (CH, CL, BKT…) instead of ISO-Dial!
– Fuji X-T1 Firmware ver. 4.0 to be announced in May but released in June!
LOW RATING
– XF 90mm will come in July
– Fujifilm plans a Super Fast F/1.0 lens!
– X-PRO2 version with bigger sensor ( ≈ 1.3x crop), compatible with existing lenses
– Fuji working on bigger sensor camera. Some XF lenses already able to cover bigger sensor
– X-PRO2: available around “this time next year” with more than 16MP (the rumor was shared in late August 2014 by an anonymous source with nick name)
– X-PRO2 priced about 20% to 30% more expensive than the X-T1
– X-PRO2 will feature a dual SD card slot.
– X-PRO2 with tilt screen
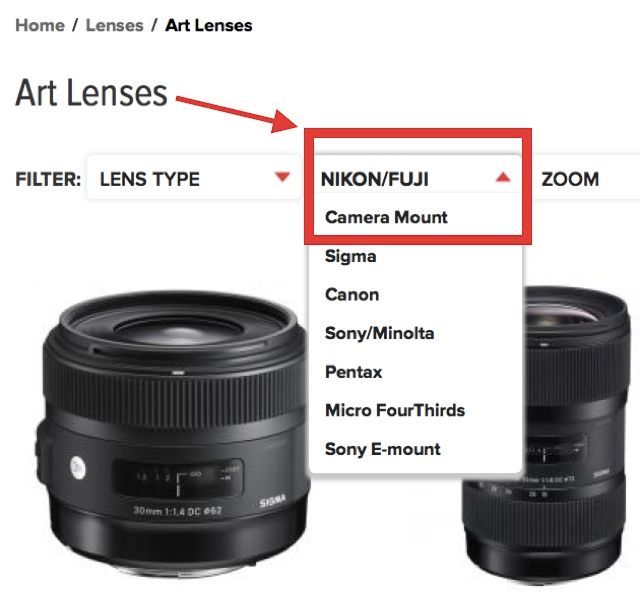
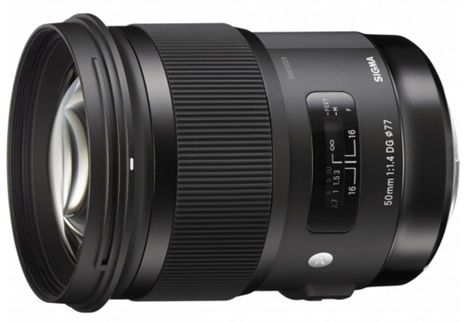
– Sigma is looking at the X-system, but they still have to decide which lenses produce and when to launch them (shared 1 DEZ 2014).
THE FACT CHECK 2015
NOTE about the 2015 rumor Fact Check. I have made 2 lists. A “fair list” and an “unfair list“. The fair lists consist in all the rumors shared by different sources at different times, each of them could have been right or wrong. On the other hand, in the unfair list I put everything into the same pot. It’s not fair towards the work of my sources, but I share it out of a pre-emptive self-defense from those who want to put every into the same pot.
THE FAIR LIST
CORRECT RUMORS IN 2015
80% correct rumors
1. XF 16-55mm f/2.8 WR to be announced on January 6th
2. XF 16-55 will cost about £900/1000 (price £949)
3. X-A2 with 180° tilt screen for selfies
4. Fujifilm X-A2 to be announced January 15th
5. Fujifilm XQ2 coming January 15th
6. Lensbaby lenses for X-Mount coming this Spring – rumor confirmed by lensbaby at the their forum
7. NEW ROADMAP to be released NEXT WEEK :: will include XF 120mmF2.8 1:1 Macro, 35mmF2, 1.4x teleconverter and 100-400
8. eXtended X-deals :: Save up to $200 on X-cameras and XF-lenses until March 28!
9. SUPER-DEAL on the XF 18-135 starting on April 12 (save $300)
10. XF 16mm to be announced this week: It will weigh 375g, have a filter size of 67mm, a Focus range from 0.15m to ∞ , 13 elements 11 groups, 9 (rounded diaphragm opening) 1/3EV (22 steps).
11. eXtended version: Fuji X-deals will run until May 30 … Save up to $400!
WRONG RUMORS IN 2015
20% wrong rumors
1. Fujifilm should present a flash system for X series at the CES
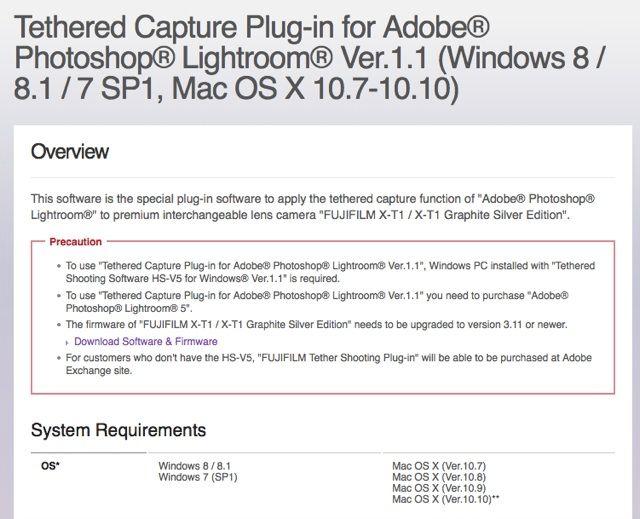
2. Lightroom with X-T1 tethered support coming in February (shared 8 January 2014) – NOTE: a plug-in for Adobe tethered shooting was announced in February, but since I said a dedicated Adobe solution will be “released” in February, I consider this a wrong rumor.
3. Next Version of Lightroom will support X-T1 tethered shooting (shared 7 January 2014) – NOTE: a plug-in of Fujifilm was offcially announced on February 26th.
THE UNFAIR LIST
CORRECT RUMORS IN 2015
80% correct rumors
1. XF 16-55mm f/2.8 WR to be announced on January 6th + cost about £900/1000 (price £949)
2. X-A2 with 180° tilt screen for selfies and to be announced January 15th
3. Fujifilm XQ2 coming January 15th
4. Lensbaby lenses for X-Mount coming this Spring – rumor confirmed by lensbaby at the their forum
5. NEW ROADMAP to be released NEXT WEEK :: will include XF 120mmF2.8 1:1 Macro, 35mmF2, 1.4x teleconverter and 100-400
6. eXtended X-deals :: Save up to $200 on X-cameras and XF-lenses until March 28!
7. SUPER-DEAL on the XF 18-135 starting on April 12 (save $300)
8. XF 16mm to be announced this week: It will weigh 375g, have a filter size of 67mm, a Focus range from 0.15m to ∞ , 13 elements 11 groups, 9 (rounded diaphragm opening) 1/3EV (22 steps).
9. eXtended version: Fuji X-deals will run until May 30 … Save up to $400!
WRONG RUMORS IN 2015
20% wrong rumors
1. Fujifilm should present a flash system for X series at the CES
2. Lightroom with X-T1 tethered support coming in February (shared 8 January 2014) – NOTE: a plug-in for Adobe tethered shooting was announced in February, but since I said it will be “released” in February, I consider this a wrong rumor & Next Version of Lightroom will support X-T1 tethered shooting (shared 7 January 2014) – NOTE: a plug-in of Fujifilm was offcially announced on February 26th.
Push the READ MORE button for the updated 2014 rumor check