Some tips
– 9 Tips for becoming a better travel photographer at photographytalk here. “7. Pack lighter: […] I’m also in favor of advanced compact cameras. I love those things because you hardly draw any unwanted attention to yourself. My favorite used to be the Fuji X100, but the X100s is now out and the new features look delicious.“
– What makes a good photographer? mingthein gives his answer to this question here in his blog. An original, unusual vision, inspiration, high observantness, but low observability, curiosity, consciousness of the light (don’t focus just on the subject and start looking for the light instead!), ability to work fast… there is much more to read here. Is there something you’d have added to mingthein’s list?
– Why, when, and how to use Lens Hoods in this youtube video. (via digital-photography-school)
X100S
[shopcountry 10075]
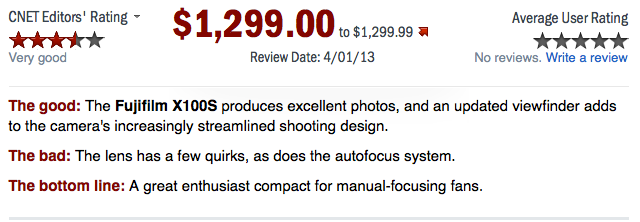
FR-Reader sgoldswoblog send me his X100S review, and I’m glad to share it with you (click here). Here a foretaste: “The minor quibble is that the switch to 14 bit RAWs seems to have caused some minor issues in RAW files at 100%. I’m pretty sure (since this isn’t an issue with X-Pro1 and X-E1 files) that this is quickly solvable. Everything else about this camera is a distinct improvement or no worse than the X100. This won’t be a camera for everyone, I’m pretty sure that most people would benefit more from an ILC with a range of lenses if that were their only camera. But as a conscious choice of fixed focal length or as a second camera it is magnificent. The new sensor really improves the output and gives more latitude around exposure and the lens remains outstanding. There is very little to dislike here!”
image courtesy: sgoldswoblog
X20
[shopcountry 8620]
– “first photos with the X20 – So far, so good :)” That’s what FR-reader Mat wrote on twitter. See his images here.
– focus numerique posted his full French review. For everyone interested in ISO-comparisons with many other cameras and more, just click here (translated version).
image courtesy: focus numerique

X-E1
[shopcountry 8614]
– You wanna see how the X-E1 performs with the [shoplink 9774]Sigma 12-24mm[/shoplink]? “Focusing was OK. The adapter has an aperture adjuster, but there is very little travel in it and selecting an aperture is pretty much guesswork. Images were sharper than I was expecting.” See the shots at soundimageplus here.
X-PRO1
[shopcountry 8616]
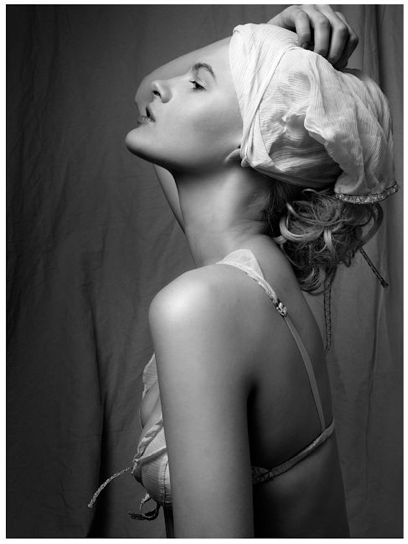
“Late Night shoot with the effortlessly stunning Chloe-Jasmine Whichello… As this was a very unplanned shoot, in fact zero planning whatsoever, Chloe-Jasmine found ourselves shooting one evening as I still had the Lingerie with me from a shoot the day before. The Fuji X-Pro1 always is with me and it was lucky that I also had my Nano Lighting with me also. Totally loved how well it all came out in the end!” See Dave Piper’s beautiful shots here.
image courtesy: Dave Piper
XF1
[shopcountry 8634]
– Digitalcamerainfo posted his XF1 review here. From the conclusion:
“Can the XF1 compete on even footing in the marketplace with [shoplink 9888]Canon’s S110[/shoplink] and [shoplink 9891]Panasonic LX7[/shoplink], or even Sony’s higher-priced [shoplink 8524]RX100[/shoplink]? The answer is that it doesn’t have a chance. It simply doesn’t do enough to overcome the huge brand-recognition advantage those companies have, and it possesses some unfortunate (if well-intentioned) design missteps. That doesn’t mean it’s a bad camera—in fact, it’s quite good from an image quality standpoint. Stills from the XF1 are just as good as those from the upmarket X10, which is to say they’re among the best results you can get from a compact that isn’t the RX100. (You just can’t beat that 1-inch sensor). If you can get over the camera’s operational quirks, it’s a solid shooter at a very attractive price—just $389 from reputable sellers at press time.”
And to all FR-readers out there, Happy Easter!