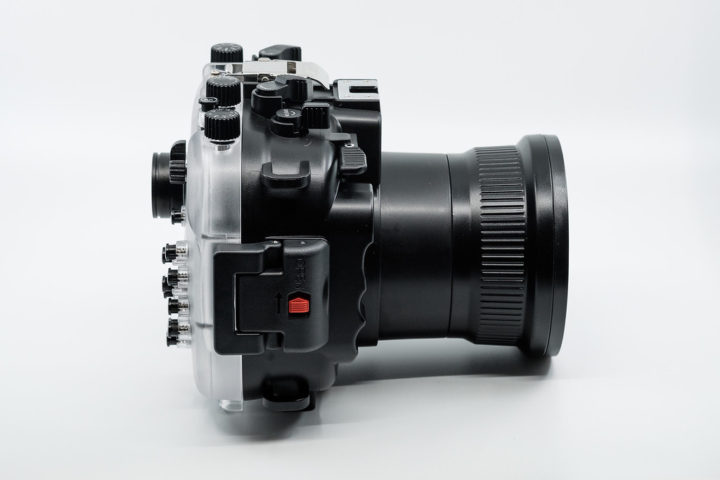
Meikon Fujifilm X-T2 Waterhousing Review

GUEST POST FEATURE
Write Your Articles Directly On FujiRumors!
Guest Post by TheOverratedPhotographer
Introduction
I’ve been wanting a decent water housing for a while. It’s a symptom of GAS (Gear Acquisition Syndrome), once you have everything you want, you find more things to want. In my case, one of the areas I play in is kitesurfing, and whilst to 100-400 is great to take photos from a distance, the option of a waterproof housing gives you a complete different perspective. As opposed to a horizontal view, you get a vertical view looking up or photos from the water looking back at the beach. My housing requirements aren’t the heavy duty scuba diving ones, mine will be mainly surface based.
Unfortunately the wind hasn’t been playing along lately so I haven’t been able to take many action photos to date, but I will update this as I go along.
If I could knock them for anything on this, it’s the poor user manual, but it doesn’t take long to get through the key items. It would be great if they could update this an offer a copy online.
Overall, for a housing that costs under US$300, it’s phenomenal value for money and one that I would highly recommend for anyone looking at a budget water housing.

Ordering
The Meikon housings are available directly from Meikon’s website at www.meikon.com.hk. I’m not sure what other retail channels they offer as I haven’t searched. They offer housings for most of the major camera brands including Fujifilm obviously. The X-T2 is offered as 3 options depending on your lens selection.
The pricing on the Meikon is pretty reasonable, AUD$385 for the housing including free shipping to Australia. That works out to about US$290 for non-Australians. That is for the model that takes the 16-55, if you want the model with the dome port, expect to pay about US$140 more for the housing and port, or the dome port is available for US$200 separately. International shipping is offered free to Australia, but I’m not sure if this is available for all countries.


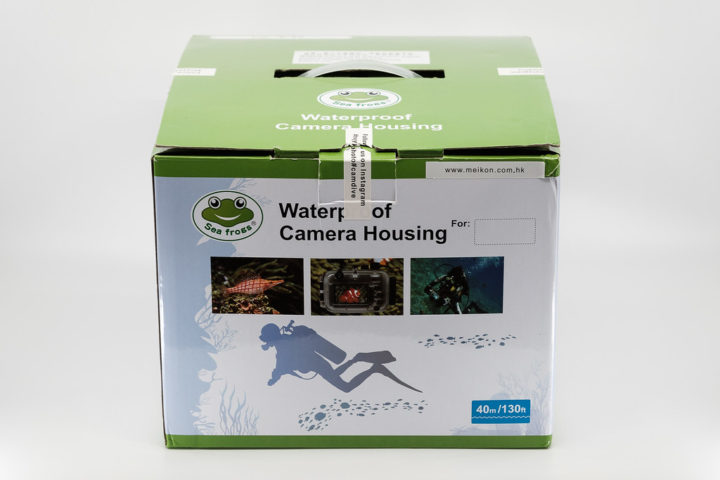
Packaging and construction
The packaging is reasonable, it’s clearly not a high end housing. The housing comes with:
- A very basic manual
- Neck strap
- Wrist strap
- Some little squares
- Spare rubber sealing gasket and grease
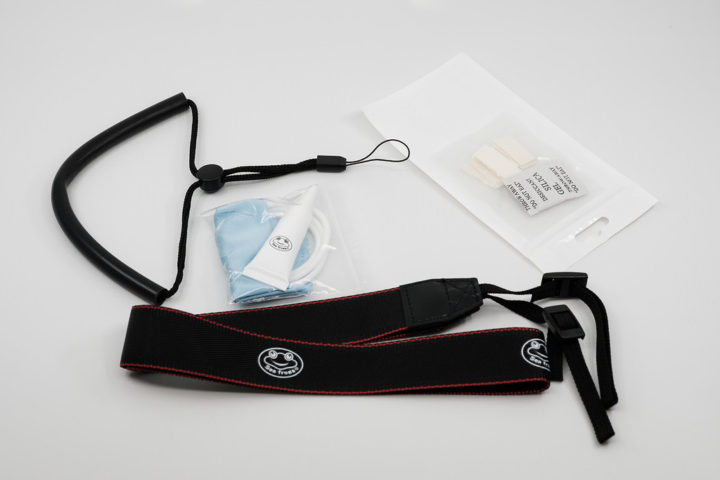
The manual is on the basic end. Gives you a guide to what you need to know about the housing buttons and how to insert the camera (limited info), but that is about it. It would be nice if it was a little more detailed. I think a check list of what to do prior to inserting the camera would be helpful.
The neck strap is a nice touch but the camera is pretty heavy so I am not sure if it’s suitable for me, maybe divers may have more requirements for it. The wrist strap is something I’ll use, but it’s still lightweight and you wouldn’t want to hang the housing from your wrist.
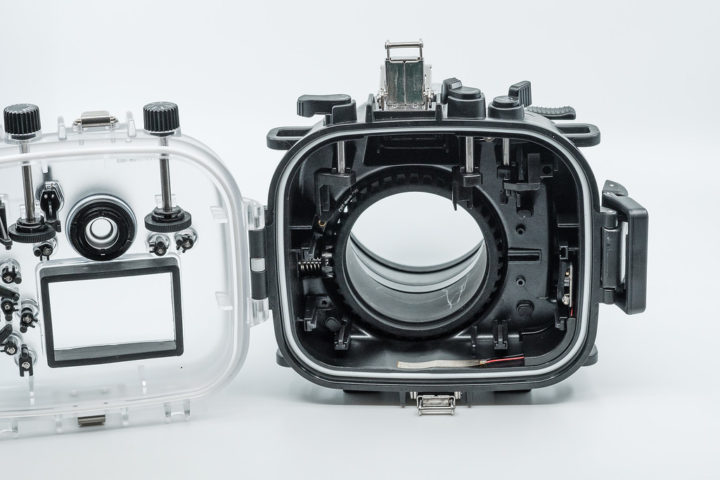
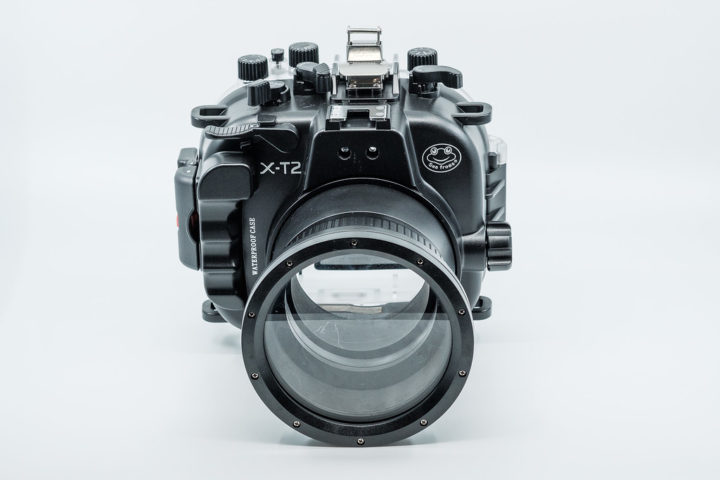
The housing itself is very good quality, a bit heavy but that’s the nature of a diving housing over a surf housing. I could get something lighter but it would have cost me substantially more. Once you are out in the water it’s less noticeable.
Overall, for something that is a fraction of the cost of the usual housings, I’d give this a 9.5 out of 10, from a quality to cost perspective. It really is good value for money.

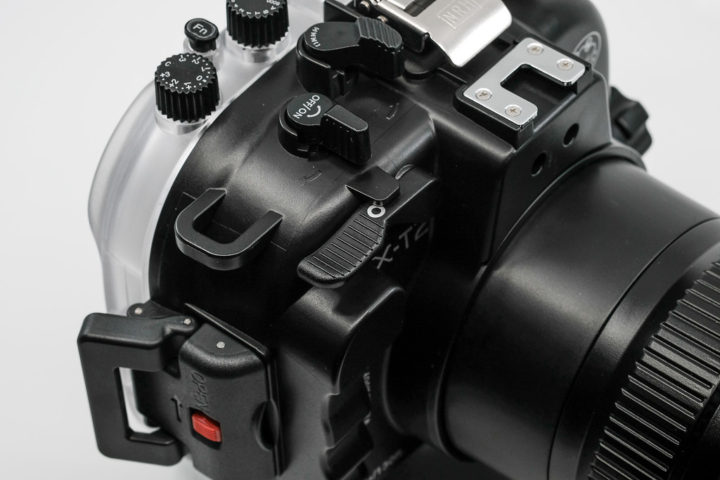
Getting the camera in the housing
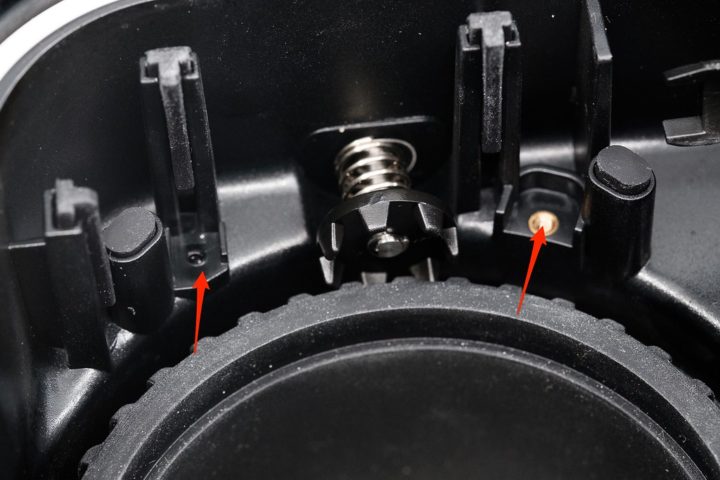
This is one of the areas the manual fails a bit. All they tell you is the camera needs to be stock, so no strap rings, soft shutters or anything. They mean it. It won’t fit even if you leave the strap rings attached. Getting the camera into the housing is a little harder, mainly because you have to align the dials to make sure they are the same way. It’s not a difficult task, but it would be nice if Meikon had a quick guide that mentioned some of these, or a check list. This is the kind of thing I would do:
- Configure Aperture to preferred Aperture as this cannot be modified in housing
- Configure AF to preferred location as this cannot be modified in housing
- Ensure dials are aligned to dial setting on housing
- Ensure switches (on/off) locations are aligned.
- Etc.
Functionality
I’m not going to pretend to know what divers will use, it’s not my intended purpose although it will get a bit of snorkelling usage on occasion. My purpose is to use it as a surf housing and it probably won’t be tested to its limits. I’ve dived on a regular basis in my younger years and maybe one day I’ll do it if I decide to do some diving on a tropical location, but my current location isn’t the kind of location I would classify as tropical enough to justify regular dives.

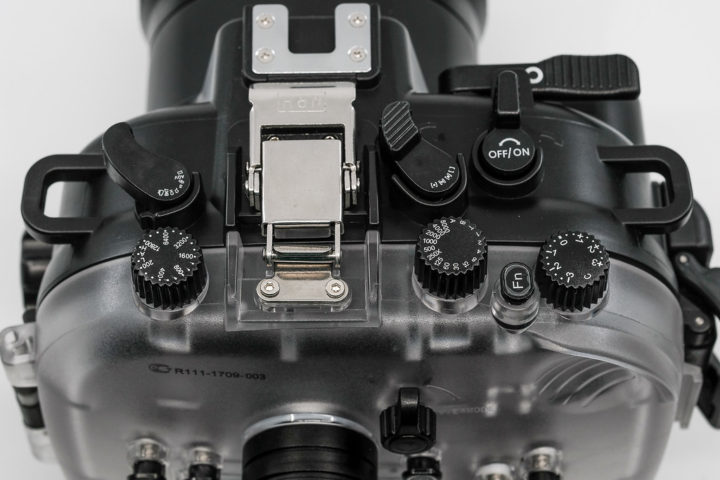
One good thing to mention about the housing is that it does have a leak indicator. It has both an alarm and a flashing light so if you can’t hear the alarm going off underwater you should still be able to see the indicator. This may of course to be too late if you’re 30m underwater and you still have to do a decompression stop, but at least you can watch your camera die slowly and say goodbye. In my case however it will help.
As an underwater housing, the housing itself offers a lot of functionality. I’ve included a scanned copy of the graphic from the manual that shows the controls so I won’t list all of them out.
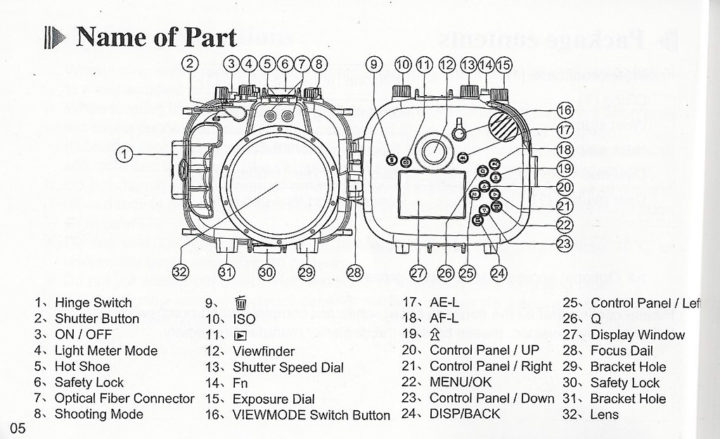
The big question is what do you lose? Let’s look at those aspects now:
- Aperture control – No access to the aperture ring and/or the front and rear dial, and as a result, no ability to adjust aperture other than via auto aperture and manually controlling shutter and ISO. The 16-55 has a very amount of DOF so this may or may not be an issue.
- Front/Rear Dial – This will limit the ability to make some adjustments
- Joystick – There is no joystick control so the ability to move the focus points around is not available. You do however have the ability to switch focus points between wide, zone and single through menus or shortcuts so it’s not completely limiting.
- AFS/AFC/AFM – No ability to adjust this although I suspect most people may opt for AFC so this is not much of a problem.

Lens compatibility
I picked up the version for the 16-55 but I will update this section as I test it with a broader range of lenses as the nature of this housing means that it will probably (not confirmed) fit:
1. XF35mmF2
2. XF56mmF1.2
3. XF90mmF2
I will test it across all my lenses and update this.

About