Fujifilm Setup Guide – My Camera Settings


Introduction
GUEST POST FEATURE
Write Your Articles Directly On FujiRumors
Guest Post by The Overrated Photographer. You can follow him on instagram or on his website
There are some items I will also skip in this article, the whole setting the date and time thing as an example. If you can’t get through that on your own, you have bigger problems.
The article does not cover every configuration option available on Fujifilm cameras. If I have left a menu item with the default setting on my camera, I haven’t mentioned unless there is a specific reason for leaving it as is.
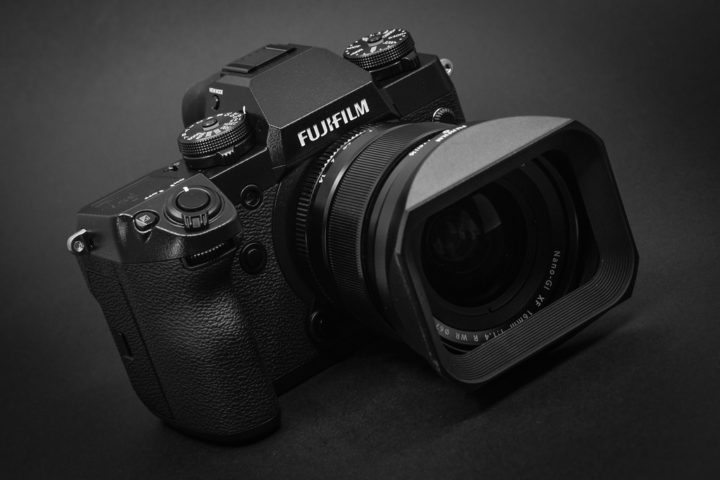
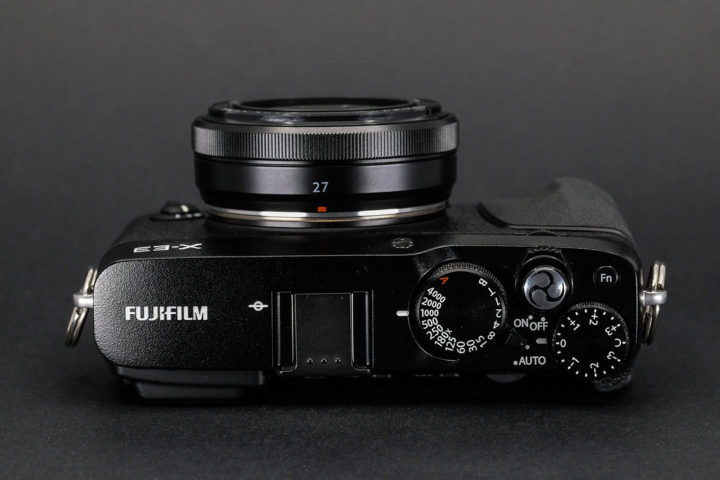
This article is based on the X-H1 so if one of the options is missing from your camera, it’s probably because it’s a different Fujifilm camera. The advantage of using the X-H1 is that it is likely to have more rather than less settings. In approaching this, I have started with the button settings and then we’ll move onto the menus. The buttons reflect settings that are unlikely to stay static, hence the reason for attaching them to a button.
Down: Exposure Preview On / off
With doing a lot of off camera flash (or on camera), it gives you the ability to switch the exposure preview on and off without having to toggle through the menus. Why do you need this? Well, if you leave exposure previe.w on when using flash, chances are the. viewfinder will be too dark to see.your subject, so you need to switch it off when using flash
Left: Film simulation
I used to have this attached to the front button with the AF point selection attached to this button but after Fujifilm introduced all on AF point selection and the ability to adjust them on the joystick, I find this is no longer required. Having the flexibility to switch film simulations as and when you need to is something fairly important and I suspect this button assignment will be on most people’s list.
Image Quality Menu
Image Quality: Raw + Fine
Despite having access to the raw file, there are a lot of times that I am happy with the jpg,so I liketo shoot with ‘RAW + Fine. That way, I can work with both. After processing my images, I get rid of the jpg’s I havn’t used.
Raw Recording: Uncompressed Raw
I know there is a compressed option, but many of the issues I’ve heard of with Fujifilm have involved compressed raw to some degree and the same extends to Nikon and other manufacturers. Until this changes, I’d recommend sticking with uncompressed RAW unless you have major storage constraints.
Film simulation: Assigned to button
This changes too often to define a fixed value, hence the reason for attaching it to a button. My default would be chrome but I’ll be writing another article on which film simulations I recommend for different situations.
AF Point Display: On
This is another personal preference one so you may agree or disagree depending on the way you work. What this setting does is change whether you see the unselected points. i.e. If you are using the 3×3 Zone and one point is highlighted, do you see faint blocks for the other points? With this setting on, you see the blocks, with it off, you don’t.
Pre-AF: off
This is me setting Fujifilm seems to turn on by default and I would switch it off. In theory it sounds great but in practice, it’s more of an annoyance than it is worth. The Pre-AF starts focussing on the selected point before you press the button, so it is already focussed when you press the button, but in practice it often starts the focus at the wrong time which results in it taking longer to focus.
Face / Eye: As a button
I have face and eye detect attached to a button, as this allow me to switch it on and off as I need it. I don’t use it often, mainly when I give the camera to someone else to take a photo as I find the current implementation of face and eye detect a Fujifilm is too unreliable with anything that is moving.
Touch Screen mode: off
Yeah, I know, Fujifilm put a touch screen on the X-E3 and xH1 and I just switch it off. Well, that’s not technically correct… you can switch it back on, on the right side of the touch screen, so I switch it on when I need it and switch it off the rest of the time so it doesn’t get accidentally activated.
Shooting settings
Drive settings: CL4 and CH8 My low is set to 4fps and my high 8fps.
This is another personal preference item, as some of Fujifilm cameras can go a lot higher, I just don’t need them. I tend to set my camera to a most of the time, even when shooting single shots, and it’s rare for me to use CH or S.
IS Mode: Shooting only
This setting switches on the IBIS when you hold down the shutter. This prevents excessive battery use and only engages the IBIS when it’s actually needed. Press the button, the picture stabilises, problem solved.

Set-up
Screen Settings
Image Display: Off
When you are using an EVF, you know what the photo looks like so I don’t see any required to have it display after you take the photo
Preview Exp./WB in Manual Mode: Assign to button
If you are using flash or shooting at night, this item is critical so I’ve assigned mine ot a button.
Display Custom Settings: See List
This is what you get in your viewfinder so these are the options I select. Some of them like the “blinkies” are fairly important if you want to have overexposed parts of the image highlighted.
- Focus frame
- MF distance indicator
- Live View Highlight Alert
- Shooting Mode
- Aperture/S-Speed/ISO
- Information Backgroun
- Exposure compensation Scale
- Focus Mode
- Photometry
- Shutter Type
- Flash
- Continuous Mode
- Dual IS Mode
- Touch Screen Mode
- White Balance
- Film Simulation
- Dynamic range
- Boost Mode
- Frames remaining
- Image Size/Quality
- Movie Mode & Rec Time
- Image Transfer Order
- Mic Level
- Battery Level
Set-up
Button/Dial Settings
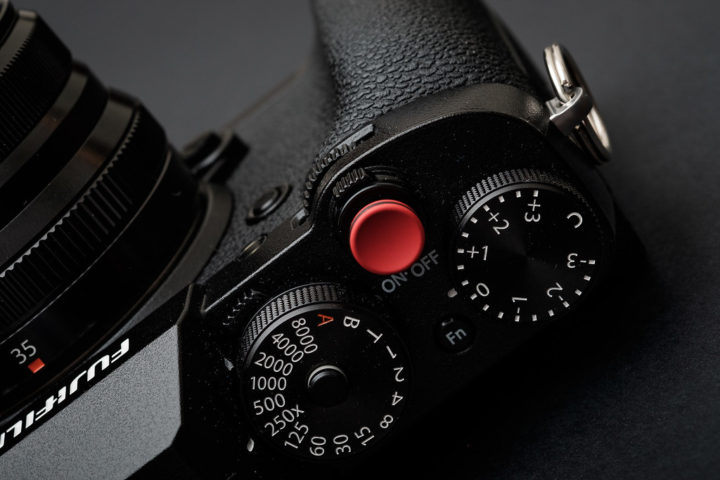
ISO Dial setting (A) : command
With this setting enabled, you can adjust ISO on your front dial when it set to A, including switching between your 3 auto ISO setting. This includes manual mode where you may want to set a fixed ISO, say 200, or auto ISO.
Command Dial Setting: 1 Aperture 2 ISO 3 None 4 S.S.
This will allow you to use the front and rear dial to adjust ISO and Shutter. Simply set the ISO dial to AUTO and the shutter dial to T and you can adjust both on the camera front and rear dial as required.
Shutter AF – On/Off
I work with back button focus but this method doesn’t suit everyone so unless you want to work with back button focus, leave this at on. If you prefer using the Af-On button for focus and the shutter button only as a shutter, switch this off.
Shutter AE – Off
I recommend switching this off but it’s going to come with a warning. When you have this switched on, the moment you start focusing the exposure is locked. If you are chasing your child around the house and he/she moves from a light bit to a dark bit, your photo will be exposed the way the scene looked when you first started focussing.
The warning comes when you switch this to off which is what I would recommend. If it’s off, it will only ever show you the maximum ISO in auto-ISO mode. It’s an annoying issue and it’ll be the subject of my next article aptly title “Fujifilm, fix your damn auto-ISO issue!”.
Shoot without card: Off
Make sure this is set to off. The last think you want is to forget to put your card in and finding out the camera is taking photos without a card.